How to make stained glass biscuits
Every crafting post begins like this:
Mummy does not do craft!
Except at Christmas! Mummy loves Christmas. And so once a year, the craft box is retrieved from underneath the recipe books, board games and un-ironed laundry, and we make stuff. Frenziedly, before she gets in a huff about mess, and puts it all away again.
Home-made gifts
The reason for her lapse in control is our desire to give home-made gifts to family and friends. Every Christmas we have a large bowl of something small, but enthusiastically created, standing in our hall, waiting for unexpected guests to take home as a souvenir of our festive goodwill. Last year it was the undesired varieties from the Quality Street, lovingly encased in hand-decorated mini boxes. The year before, plastic snow globes sporting exquisite examples of our artwork. As you can imagine, people are usually thrilled with our gifts, and treasure them for at least 10 minutes before they are consigned to the loft with all the other Christmas tat.
A home-made gift that your guests will love
This year, we have excelled ourselves. We have finally created a gift that we know will delight our family and friends. We used the snowflake cookies recipe from our favourite “Christmas Crafts to make and bake;“ it gave us the perfect buttery biscuit, which also stood up to being hung on the Christmas tree. A lot more simple than they look, these biscuits are a treat to look at and to eat!

Stained Glass Christmas tree biscuits
Ingredients
Method
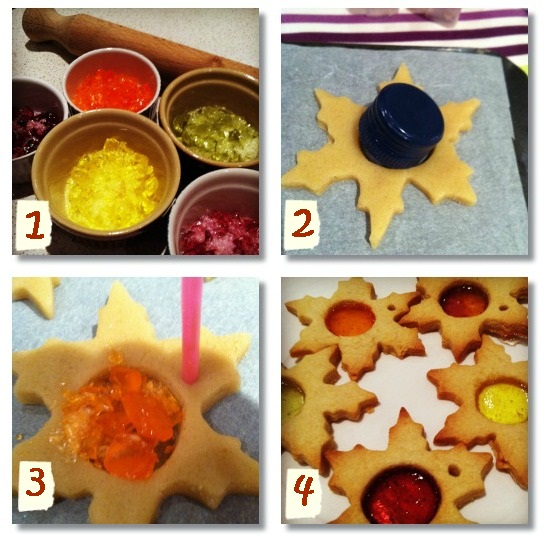
- Separate the sweets into colours, place in sealed plastic bags, and bash with the end of a rolling pin until broken into chunks.
- Mix the butter and sugar and cream until light and fluffy.
- Add the egg, vanilla and salt and mix in.
- Gradually add the flour and mix to a smooth dough.
- Cover with clingfilm and chill in the fridge for an hour or so, or until firm enough to roll easily.
- On a floured surface, roll the dough to around 5mm thick, and cut out whatever shapes you need. Your cutters need to be fairly big, to allow room for a hole in the middle. Stamp out holes in the middle of each biscuit – we experimented for a while before finding that the cap from a bottle of Chablis was the perfect size for our snowflakes. Lucky for Daddy…
- Lay the biscuits on a baking-paper covered tray. Fill each hole with a different colour of the broken sweets.
- Use a straw to stamp a small hole in each biscuit. Once baked, you will thread a ribbon through this hole to hang the biscuit on the tree. If you’re not going to hang them, you can omit this step.
- Bake for 10-12 minutes until pale golden and firm to the touch. The magic is that the sweet chunks melt in the heat of the oven, but firm up once they’re out to leave clear coloured “glass” in the centre of the biscuit. Leave them to cool, then get creative.
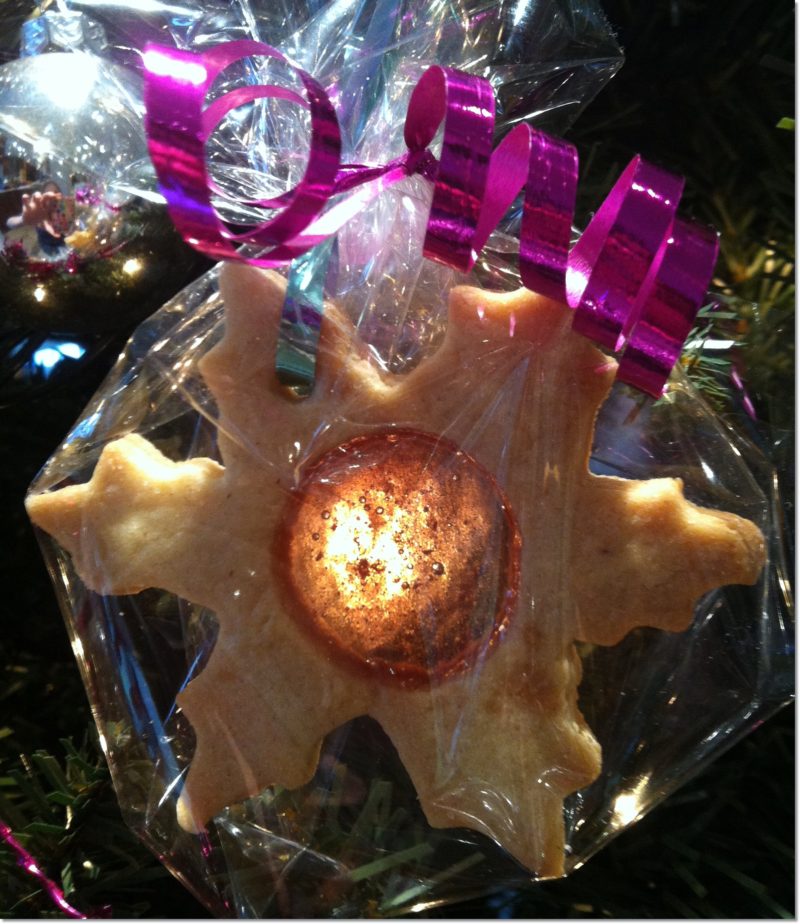
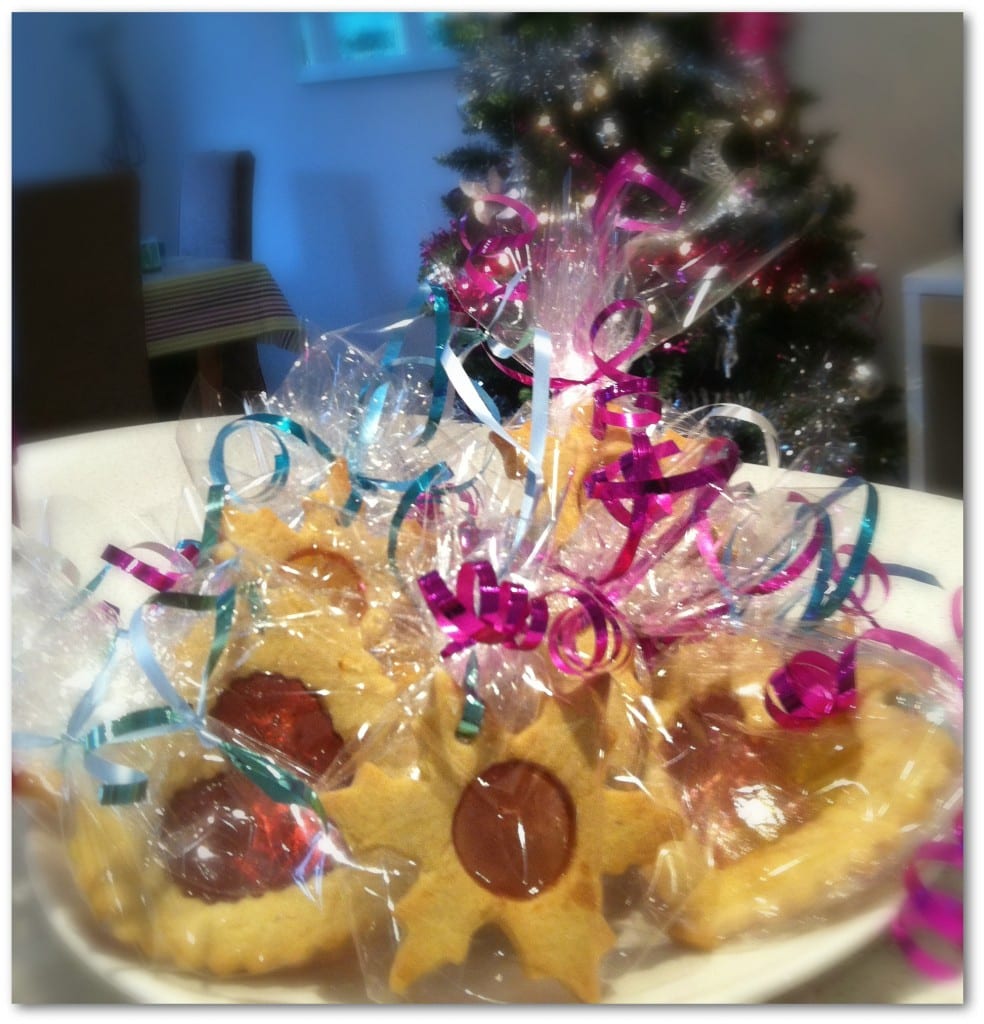
- At this point you could just devour these delicious treats, but if you are gifting them, or hanging them on the tree, we recommend wrapping first. Thread a length of decorative ribbon through each small hole and tie at the top to make a loop for hanging. We also chose to wrap our biscuits for hygiene and because it looks pretty! We used clear cellophane paper, which we found in Paperchase.
We are now beside ourselves with excitement at our creative genius – if you visit us this Christmas, you will be getting one of these, and we’re certain you won’t be stashing it in the loft!


these look amazing. We bought a valentines kit a few years ago which were similar but with a heart shaped ‘stained’ glass bit and I kept the cutters to use again and again. (and yes I needed a ‘kit’ because I am rubbish at anything crafty or cooky). xxx
Well I thought I was but these are so simple even I can do it!
They look great!
Those are very cool, and I am surprised how easily they are made, nice work!
I was going to do this too but never got round to buying any hard boiled sweets. Glad to see how easy they are to do
There’s still time… 😉
Rats I knew I should have visited! These look lush Helen – I see 2013 as the year you move into crafts!
I’ve always wanted to try these, they look brilliant. You can craft 😉
for a mummy who doesn’t do craft those are simply awesome!
Love these! Might make some for me, I mean guests of course!
will have to bookmark this for next year…….
I did not realise your mum did craft at Christmas – she is so very good!
What a fantastic idea!
Yeah, ONLY at Christmas 😉
Oh wow- going to do these with my girls for their teachers- thank you!!
Teacher gifts is a perfect use for them!
I really love these, I’ve pinned them to make with Bud. Perfect for some friends of his Grandma’s who he visits every week.
Thanks for linking up.
Thanks Pippa!
These look amazing, but how much sugar do you put in? I can’t see it in the list of ingredients :/
Thanks
Ah thanks for flagging up that error – I’ll update it now. I use about 200g caster sugar
How many biscuits does this recipe make, I can’t seem to find an amount?
Thanks.
Gosh it depends on the size of your cutters really – maybe around 20-25?
Woohoo Joe has been nagging me to make these I now have a recipe, thanks for sharing Helen x
Enjoy!
These are just beautiful!